 EZVIZ no longer supports Internet Explorer 10 or earlier versions, and the site may not behave as expected. Please upgrade to a newer browser.
1. Cài đặt EZVIZ Studio trên PC Windows của bạn và đảm bảo rằng các thiết bị EZVIZ và PC của bạn kết nối trên cùng một mạng LAN.
2. Sau khi cài đặt, trước tiên bạn cần đăng nhập vào tài khoản EZVIZ của mình.
3. Sau đó, hãy chuyển đến thư mục gốc của Ezviz Studio trên PC của bạn và tìm thư mục có tên “config”.
4. Sao chép tệp có tên "AppConfig.ini" trong thư mục "config" vào Màn hình desktop của bạn. Sau đó mở "AppConfig.ini" trên Desktop và bạn sẽ thấy các lệnh sau.
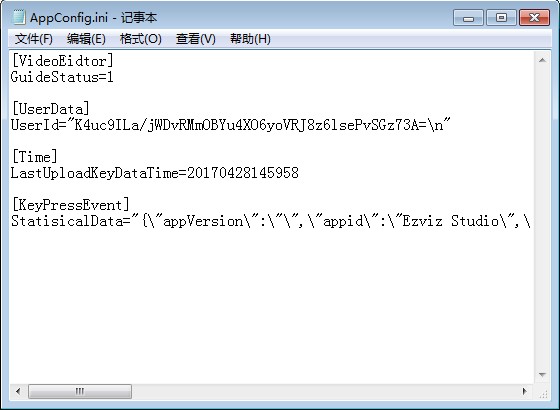
5. Thêm lệnh sau vào "AppConfig.ini" và nhấp vào "Save" trước khi thoát:
[LocalOperation]
Show=1
6. Sao chép tệp "AppConfig.ini" từ Màn hình Desktop của bạn vào thư mục “config” và đè lên tệp cũ.
7. Làm mới trang thiết bị trong Ezviz Studio hoặc mở lại Studio, sau đó bạn sẽ thấy “Nâng cao”.
8. Nếu bạn muốn ẩn cài đặt “Nâng cao”, vui lòng thay đổi lệnh “Show=1” thành “Show=0”, sau đó mở lại studio EZVIZ.


